
How to Reflex Roses: 6 Easy Steps to Fluff Your Roses Without Ripping
By Flower Puff Girl on March 14, 2025

Learn how to reflex roses without ripping the petals. Get pro tips from florist Flower Puff Girl to fluff your roses for stunning, dimensional arrangements.
How to Reflex a Rose: Step-by-Step Guide
As a florist with years of experience, and someone who’s been around the floral scene long enough to be called Flower Puff Girl, I can confidently say that reflexing a rose is one of those tricks that can transform your arrangements into something special.
In this article, I’ll walk you through my step-by-step guide on how to reflex a rose like a pro — based on a technique I demonstrated in a recent video on TikTok.
Let’s dive into it!
Step 1: Choose the Right Rose
The best roses for reflexing are those that are at their peak bloom, neither too closed nor too open. You want the petals to be firm, but not so tight that you can’t manipulate them. Roses that are just beginning to open are ideal. You don’t want them too tight (they won’t reflex properly), but you also don’t want them fully open yet (as they might not hold the reflexed shape).
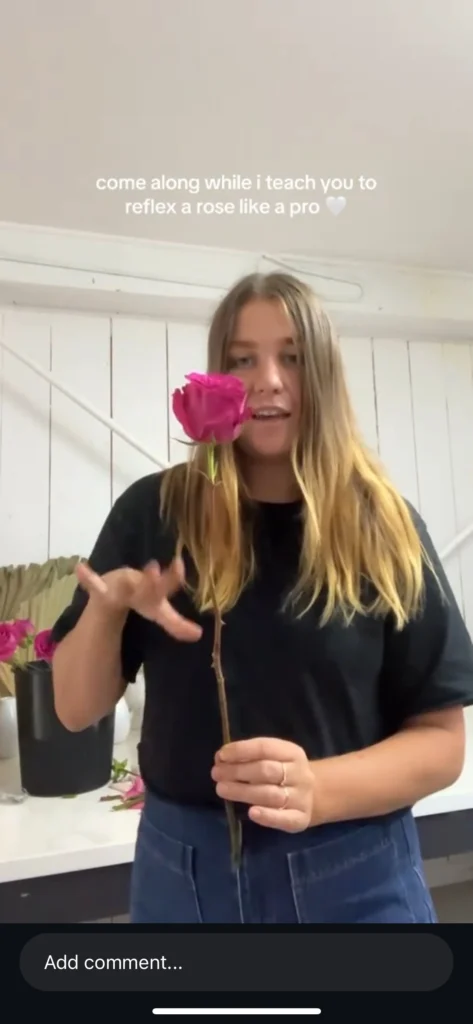
Step 2: Gently Hold the Rose
Hold the stem of the rose gently with one hand and use your thumb and forefinger to delicately hold the petals. Be careful not to crush the petals. Remember, the goal is to pull them back without damaging the flower. If you’re new to this, practice a little on a few extra blooms to get the feel of it.
Step 3: Start with the Outer Petals
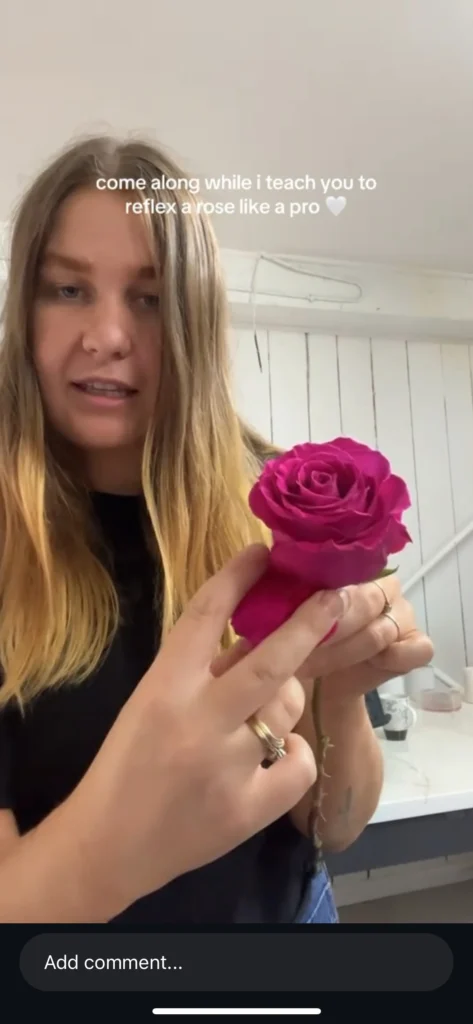
Begin with the outermost petals and gently pull them backward. Be sure to do this slowly and carefully. Do not yank or force the petals, rather let them naturally pull back as you ease them out. Each petal should fan out and curve in a way that highlights the rose’s texture.
Step 4: Work Your Way Inward
Once the outer petals are reflexed, move to the next layer of petals, and repeat the process. With each layer, try to make the petals open wider. You may find that some petals need more gentle persuasion, while others will naturally reflex on their own.
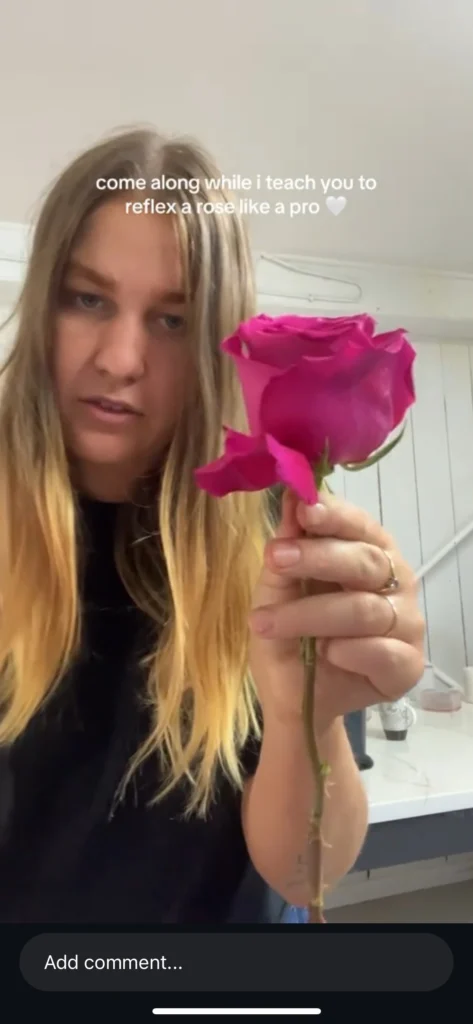
Step 5: Adjust the Center Petals

For the final center petals, you may want to be especially gentle. These can sometimes be a bit firmer and harder to pull back. However, with a little patience and care, you can coax them into the perfect reflexed shape.
Step 6: Final Touches

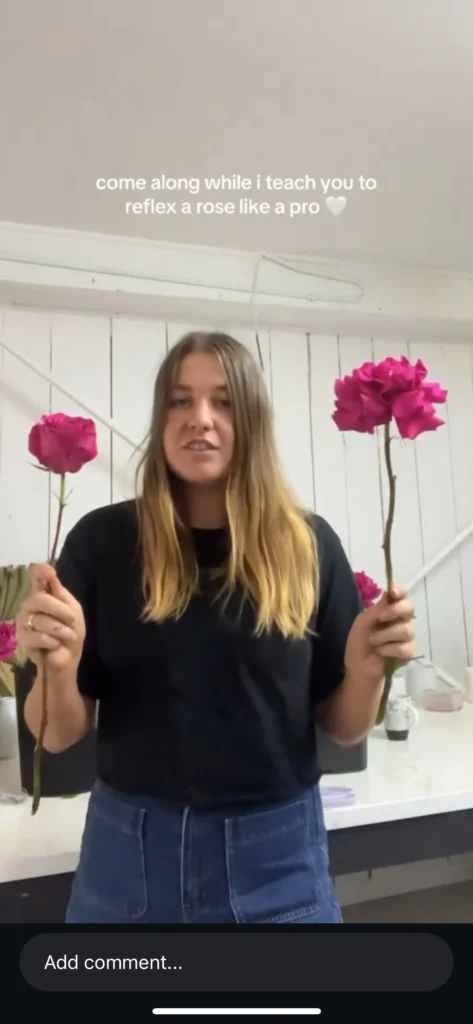
Once all the petals are reflexed, take a moment to step back and look at the rose. You want to make sure that the petals are evenly spaced and that the overall shape is balanced. If anything feels too tight, give it a gentle tug. If anything feels too loose, a slight re-adjustment will do the trick.
How to Reflex Roses Without Ripping the Petals
Use a Rose that is Easy to Reflex
Ecuadorian Roses are the Best Roses to Reflex!

Ecuadorian roses are your best bet when reflexing, their petals are thicker and stronger than other varieties. This makes Ecuadorian roses a great choice for reflexing.
Work with a Warm Rose
Let your roses sit at room temperature for a while before working on them. A cold rose might be too stiff and difficult to reflex.
Go Slowly
Reflexing takes a little patience! Rushing through the process can result in petals being torn. So, take your time.
Best Roses for Reflexing
Ecuadorian Roses are the Best for Reflexing!
Nina Roses
Nina Roses are a vibrant red rose of the Ecuadorian Variety. These are very beautiful roses that are also very easy to reflex!
Pink Floyd Roses
Pink Floyd Roses are a hot pink beauty of a rose variety, also from Ecuador. These flowers look amazing when reflexed!
Quicksand Roses

Quicksand Roses are a muted dusty/nude pink. While their petals aren’t as thick as other Ecuadorian rose varieties, Quicksand roses are one of the easiest varieties to reflex. Perfect for a beginner.
Playa Blanca Roses

While Playa Blanca rose petals are nice and thick, this variety is a crisp white rose, so extra care must be taken to avoid bruising!
What is Rose Reflexing?
Opening Up a Rose for a Beautiful Fluffed Look
Reflexing is the process of gently pulling back the petals of a rose to open it up and give it that beautifully “fluffed” look. When done correctly, it highlights the rose’s natural beauty, making it look fuller and more intricate. It’s often used in floral arrangements to add dimension and make the blooms stand out.
Why Reflex Roses?
- Aesthetic Appeal: Reflexed roses open up to showcase their intricate petals, creating a fuller, more elegant look. They really give the arrangement that “wow” factor.
- Texture & Dimension: When you reflex a rose, you’re not only changing its shape, but you’re also adding a bit of texture to your design, making it appear more dynamic.
- Highlighting the Rose’s Features: Reflexing allows you to emphasize the natural beauty of the rose, drawing attention to the richness of its petals.
In my journey, I’ve come across many techniques, but none as elegant and impactful as this one. Reflexing a rose is a simple yet powerful way to make your blooms pop.
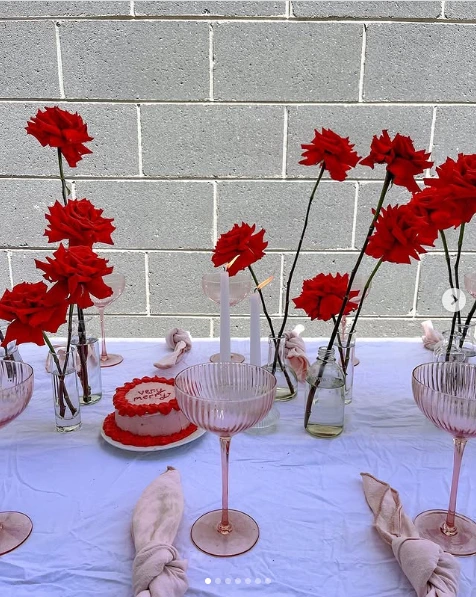
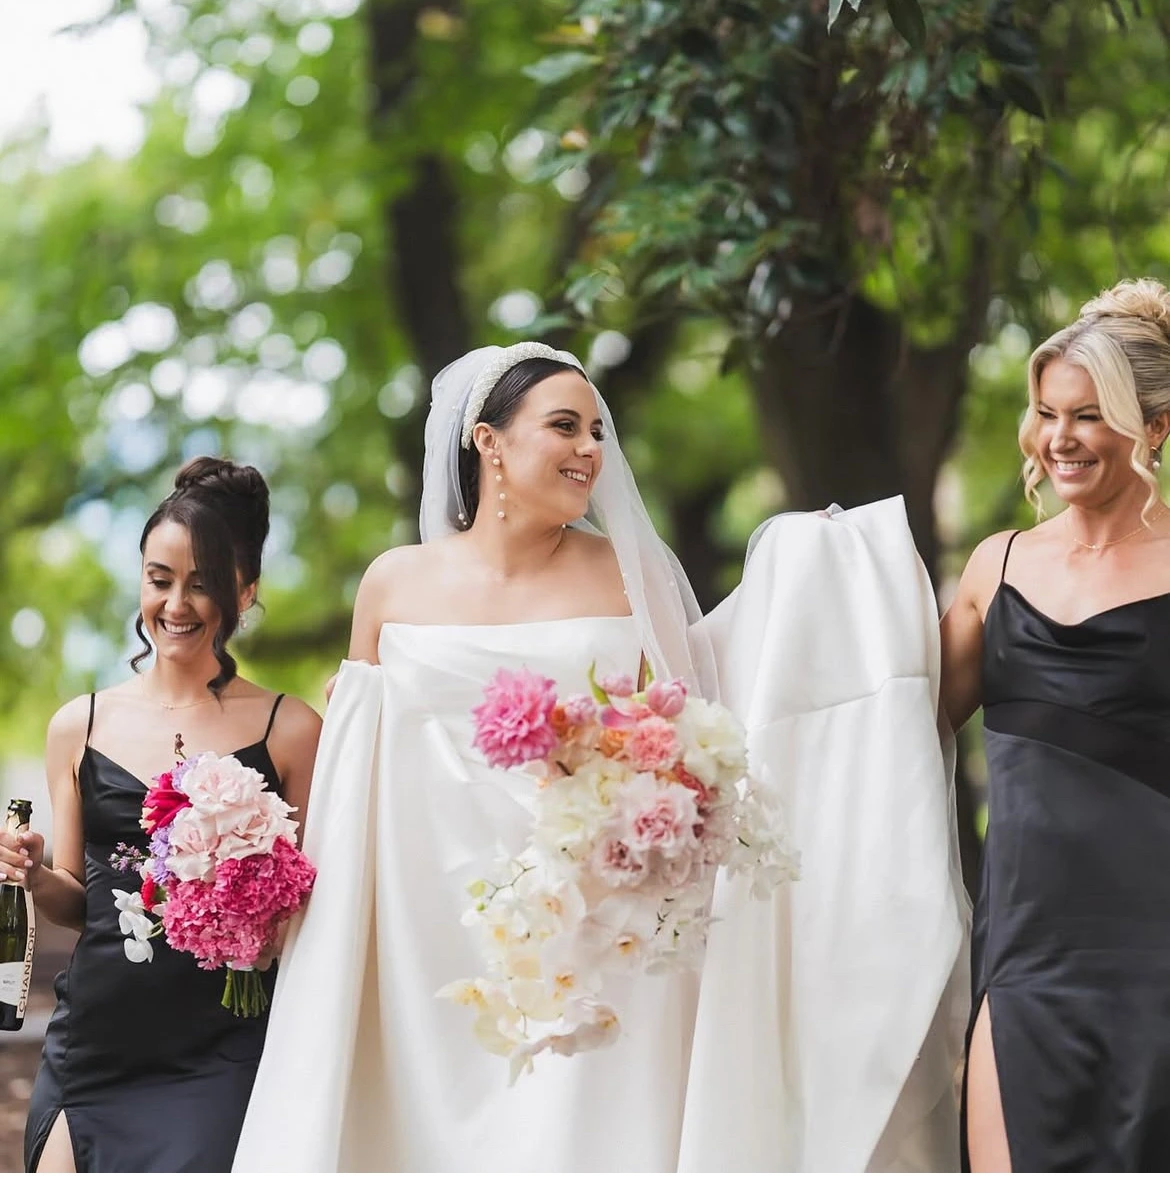
Using Reflexed Roses in Your Event Florals
Now that you know how to reflex a rose like a pro, it’s time to incorporate this beauty into your designs! Reflexed roses work especially well in:
- Wedding Bouquets: They add a romantic, lush texture to your bridal bouquet.
- Floral Centerpieces: Reflexed roses make great statement pieces for table arrangements.
- Statement Pieces: For a bar, welcome sign etc.
Choosing the Best Floral Techniques
Mastering floral techniques like reflexing roses transforms your wedding or event floral arrangements from ordinary to extraordinary. Whether you opt for lush ranunculus or classic roses, this technique enhances your flowers’ natural beauty, bringing depth, elegance, and a hint of drama to your special day. Start practicing now and give your winter wedding flowers the enchanting touch they deserve.
If you’re looking to elevate your floral game and learn more techniques like this, don’t forget to check out my website Flower Puff Girl, where I share all my years of experience working with flowers. And, as always, happy flower arranging!
If you want to see me in action reflexing roses, be sure to head over to my TikTok video and watch the full tutorial. I’m confident that with practice, you’ll be reflexing like a pro in no time! 🌹
About the Author
Flower Puff Girl | Floral Designer
Hi, I’m Dem, the floral designer behind Flower Puff Girl, a wedding and event floral studio based in Australia. Through my work at Flower Puff Girl, I create bespoke arrangements and share my expertise to help couples and event hosts bring their floral visions to life.
When I’m not designing for weddings and events, I’m usually with my two pups — the Flower Puff Pups — who keep life just as colorful as my arrangements.
Related Articles
Spooky & Stylish Halloween Flower Inspo: 5 Scary but Cute Halloween Flower Ideas
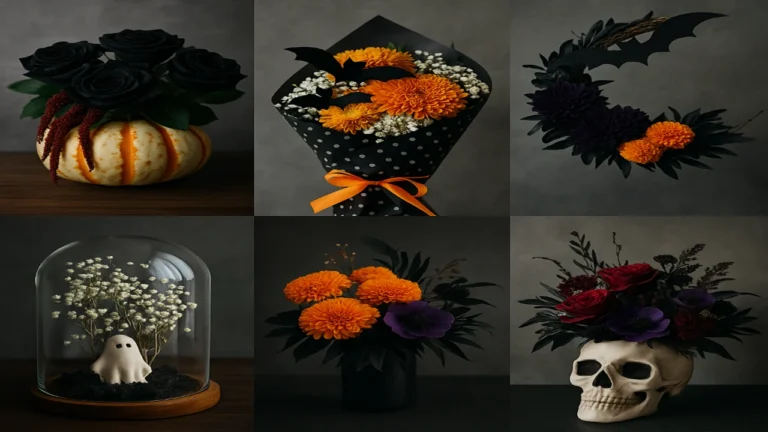
Looking for Halloween flower ideas that are spooky and adorable? These 5 scary-but-cute floral designs are perfect for parties, DIY...
Flower Inspo
on October 30, 2025
How to Make a Crochet Flower | Quick & Easy Crochet Bouquet Beginner Guide

Looking for an easy crochet flower tutorial? Learn how to crochet a lavender flower with this free pattern that includes...
Sasha Skibidi
on September 16, 2025
All Grow a Garden Flowers List

Here’s the full Roblox Grow a Garden flowers list, with all flower types, how to get seed packs, and the...
Sasha Skibidi
on September 9, 2025
Best Girl Flower Names: Top 100 Flower Names for Girls from A-Z in Every Language

Discover the most beautiful girl flower names inspired by nature, from A to Z and across languages and cultures. Whether...
Flower Inspo
on April 2, 2025
Best LEGO Flower Sets to Buy, Style and Gift in 2025

Looking for the best LEGO flower sets? Here's your ultimate 2025 guide to buying, styling, and gifting LEGO Botanical sets...
Flower Inspo
on March 28, 2025
Winter Wedding Flowers: The Best Flowers for Winter

Discover the best winter wedding flowers, from enchanting seasonal blooms to timeless floral arrangements, perfect for your magical celebration. Explore...
Flower Puff Girl
on March 18, 2025
Leave a Reply